Rustic décor for the house Today, we’re delving into the interesting world of rustic home décor. Bringing the closeness and warmth of nature within is the main purpose of rustic design, and guess what? You don’t have to spend a bunch to look this good! The truth is that with a little creativity and do-it-yourself magic, you can transform your space into a cozy haven that pays tribute to India’s rich legacy.
Rustic Home Decor-Why Earth Tones?
The core of rustic design is earth tones. Think of the earthy tones like sun-baked soil or rich chocolate, serene greens like those found in verdant forests, and striking accents like mustard yellow or terracotta red that evoke the colors of lively spices. Your home will feel cozy and peaceful with these hues, like a warm hug after a long day.
Rustic Decor Projects
Now, let’s get down to the fun part – the DIY projects!
These ideas are perfect for beginners and take minimal time and effort, So even if you’re a total crafting newbie, you can totally rock these.
1. Woven Jute Rug (Easy Peasy!)
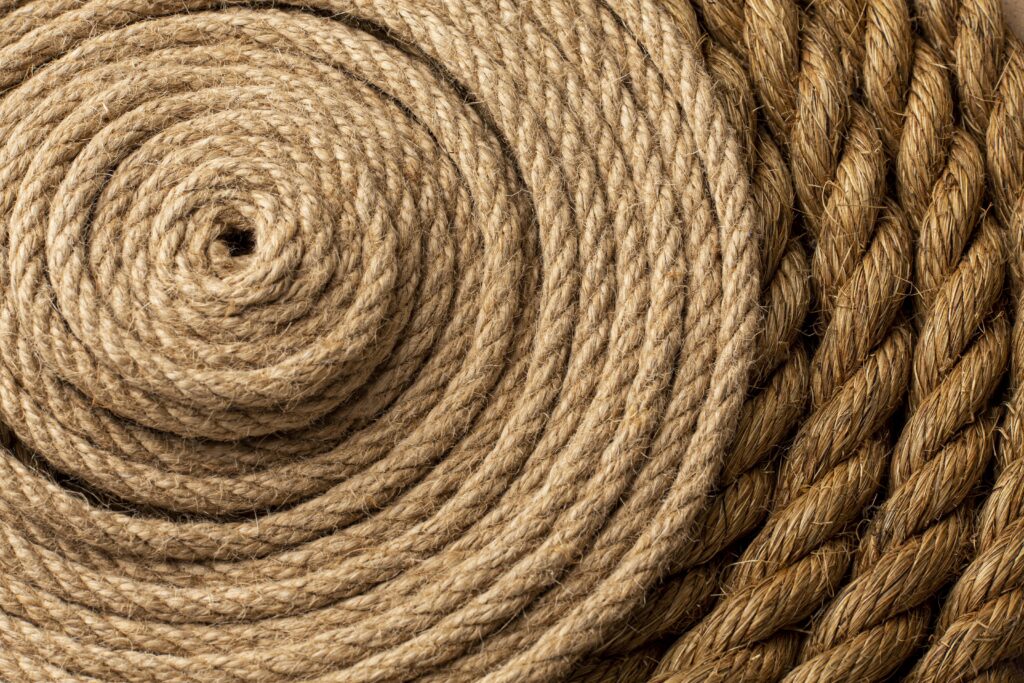
Natural fibers like jute are not only environmentally beneficial but also give any space a lovely rustic feel. Most home décor retailers carry pre-cut jute carpets, but what fun is that? Here’s how you can create one:
- Materials: Jute twine (the thicker, the better!), fabric scissors, hot glue gun (optional), cardboard template (optional)
- Instructions:
- Decide on the size of your rug. You can use a cardboard template to ensure a perfect circle or rectangle, or freehand it for a more rustic vibe.
- Start by securing one end of the jute twine with a knot. Wrap the twine around your hand or a thick object to create a starting coil.
- The exciting part is about to begin! Start winding the jute yarn in a spiral pattern around itself. Although jute is naturally sticky, you can add a small amount of hot glue here and there for added security to ensure it doesn’t unravel quickly.
- Keep wrapping until your rug reaches the desired size.
- Tuck the end of the twine underneath the rug and secure it with hot glue or by weaving it under a few layers of jute.
2. Terracotta Spice Jars with a Modern Twist
Terracotta is a classic Indian material that adds instant rustic charm. Here’s how to give those plain terracotta spice jars a modern makeover:
- Materials: Terracotta spice jars (various sizes), acrylic paints (colors of your choice!), paintbrushes, stencils (optional), washi tape (optional)
- Instructions:
- Give your terracotta jars a fresh coat of paint. You can go for a solid color, create a striped pattern with washi tape, or use stencils for a more intricate design.
- Let the paint dry completely.
- (Optional) Once dry, you can add labels to your jars using a paint marker or stick-on labels.
3. Upcycled Tin Can Vases with a Touch of Nature
Don’t toss those empty tin cans! They can be transformed into adorable rustic vases.
- Materials: Empty tin cans (various sizes), sandpaper, acrylic paints, paintbrushes, dried flowers, branches, or twine
- Instructions:
- Remove any labels from the tin cans and wash them thoroughly.
- Use sandpaper to roughen up the surface of the can for better paint adhesion.
- Paint your tin cans in your favorite earth tones.
- Let the paint dry completely.
- Get creative! You can decorate your vases with twine wrapped around the rim, or hot glue some dried flowers or small branches for a natural touch.
4. DIY Wooden Photo Frame with a Rustic Flair
Memories deserve a special place in your home, and what better way to display them than in a rustic photo frame you made yourself?
- Materials: Wooden craft sticks (enough to form a frame), hot glue gun, twine, small nails (optional), paint (optional), photo.
- Instructions:
- Craft sticks should be arranged to create a rectangle that is marginally bigger than your photo.
- The sticks can be joined at the corners with hot glue.
- (Optional) Paint the frame to give it a more finished appearance.
- After the frame is dry, secure it with hot glue by wrapping twine around it in a crisscross pattern or any other design you like.
- For a more rustic look, you may even hammer the twine into the frame using tiny nails.
- Use craft tape or hot glue to adhere your photo to the back of the frame.
5. Macrame Wall Hanging – A Bohemian Twist on Rustic
Macrame is a textile-making technique using knots to create beautiful patterns.
- Materials: Cotton macrame cord, scissors, wooden dowel rod, tape.
- Instructions:
- Cut your macrame cord into equal lengths, depending on the desired length of your wall hanging.
- Secure the cords to a wooden dowel rod using tape.
- There are many beginner-friendly macrame knot patterns available online. Choose one that suits your skill level and follow the instructions to create your design.
- Once you’ve completed your macrame piece, trim the ends of the cords for a neat finish.
Top Tips for Creating a Rustic Ambiance
- Embrace natural textures: Think woven baskets, jute rugs, wooden furniture, and cotton throws.
- Incorporate vintage finds: Flea markets and antique stores are treasure troves for unique rustic pieces.
- Don’t be afraid of imperfections: Chipped paint or slightly distressed furniture adds to the rustic charm.
- Layer with soft lighting: String lights, fairy lights, or warm lamps create a cozy and inviting atmosphere.
- Add greenery: Plants bring life and freshness to your rustic space. Opt for low-maintenance options like succulents or spider plants.
Use these simple do-it-yourself ideas to create a rustic retreat in your house and embrace the natural feelings! Never forget that having fun and expressing your individual flair are crucial.
